Spooktacular DIY: Create Budget-Friendly Halloween Treat Bags for Kids
- Johnathan Miller

- Oct 26, 2023
- 2 min read
Updated: Nov 22, 2023
Buy All The Items Seen Today Here
The Halloween season is upon us, and what better way to spread the spooky cheer than by crafting delightful treat bags for your child's classroom? In this DIY blog, we'll guide you through the process of creating budget-friendly Halloween treat bags that are sure to bring smiles to young faces. With just a handful of simple and affordable materials, you can add a touch of magic to the classroom festivities.
Materials You'll Need:
Let's begin by gathering the materials you'll need for this creative project:
1. Party Bags: These will serve as the canvas for your treat bags. You can easily find them in various sizes and colors at your local dollar store.
2. Colorful Ribbon: A bundle of colorful ribbon will not only secure your bags but also add a festive and Halloween-inspired touch.
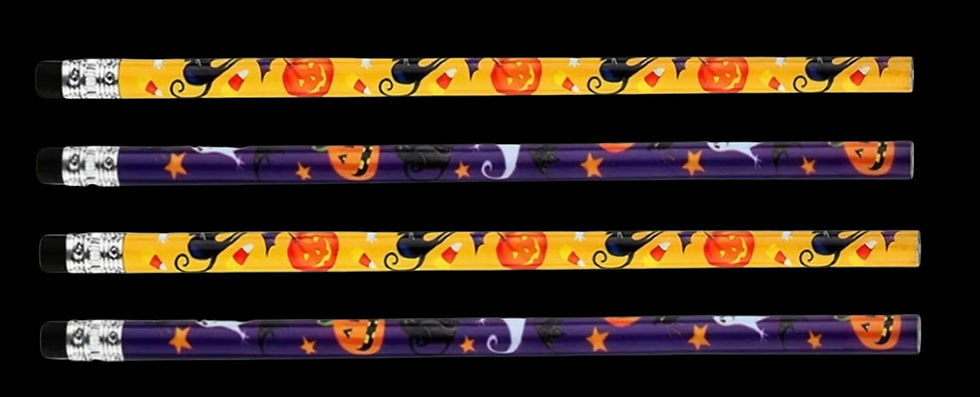
3. Halloween Pencils: Seek out Halloween-themed pencils with spooky designs. These will be a fun addition and practical for school use.
4. Candy Treats: No Halloween treat bag is complete without some sweet treats. Consider including a small assortment of candies or chocolates.
5. Crayons: Encourage artistic expression by including a pack of crayons. You can find affordable packs in many stores.
6. Snack Treats: To balance the sweets, add some savory snacks like Cheez-It's or any other classroom-friendly option.
Step-by-Step Instructions:
Now that you have your materials ready, let's dive into the creative process:
Step 1: Start with Your Bag
Open your party bag and use it as the blank canvas for your Halloween masterpiece. These bags are not only cost-effective but also versatile for customization.
Step 2: Add the Candy Treats
Begin by placing the candy treats inside the bag. This sets the sweet tone for your Halloween creation, and who doesn't love a tasty surprise?
Step 3: Include the Crayons
Tuck in a pack of crayons next. This addition encourages artistic expression and gives kids a fun activity to look forward to.
Step 4: Insert the Halloween Pencil
Slide in the Halloween-themed pencil. These pencils come in spooky designs that kids will absolutely love, and they also serve as practical school supplies.
Step 5: Finish with the Snack Treat
Top it all off with a snack treat like Cheez-It's or another favorite. It's the perfect savory complement to the sweets, ensuring a balanced treat bag.
Step 6: Tie It Up with Ribbon
Finally, cinch the bag shut with a colorful ribbon, creating a lovely bow. This not only secures the treats but also adds an extra dose of Halloween charm. The ribbons also come in handy for easy carrying.
And there you have it – a budget-friendly Halloween treat bag that's both creative and delightful. These simple materials come together to create a memorable surprise for your child's classroom. Get creative, mix and match, and let your Halloween spirit shine through in every bag.
So, as you gear up for the Halloween season, consider making these treat bags a part of your celebrations. They're not only cost-effective but also a great way to spread some Halloween magic and smiles in the classroom.
Happy crafting and happy Halloween!
Buy the items seen today HERE


Comments