
Halloween Treat Bags on a Budget

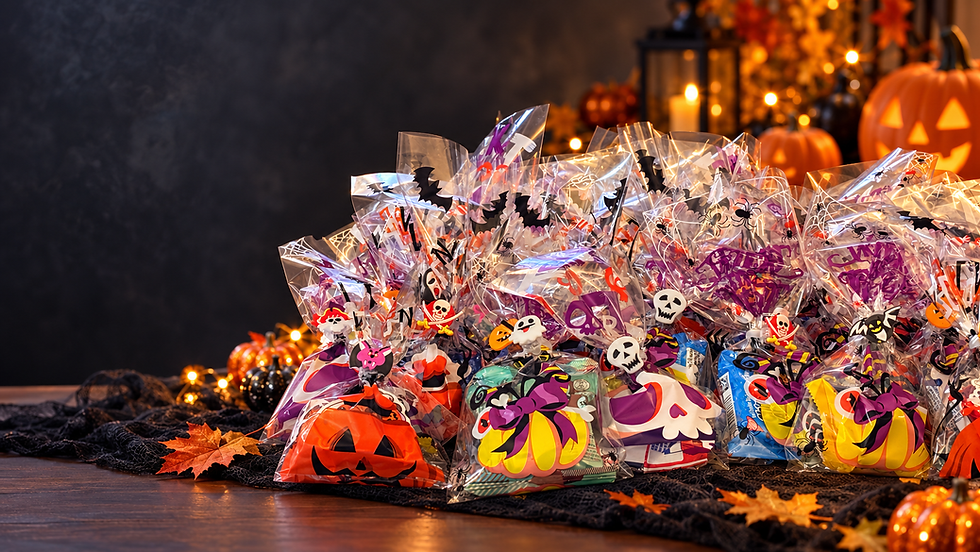
What to put in a budget-friendly Halloween treat bag
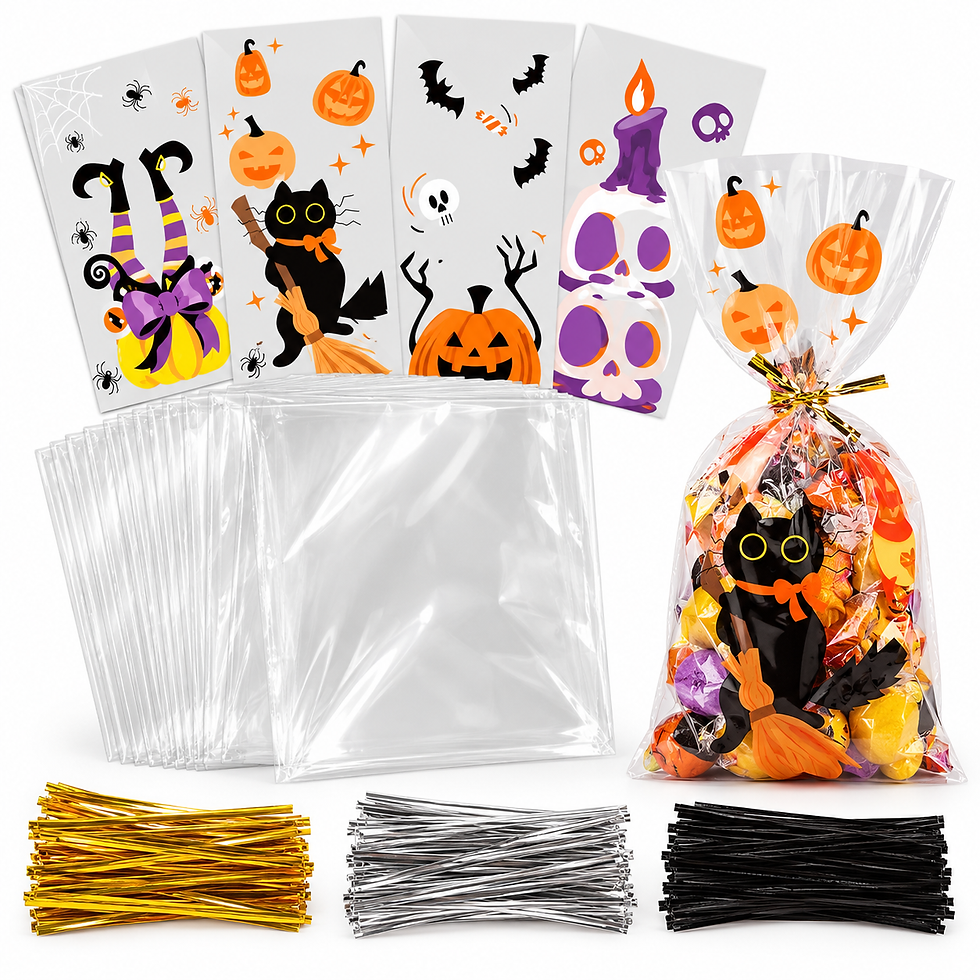
1. Start with a bag that is already dressed for Halloween
These clear bags come with adorable Halloween designs, so you can skip the extra labels and decorating supplies. Just add your goodies, gather the top, and secure it with one of the included twist ties. The clear sides let all those colorful treats show through, which makes the finished bags look so festive!
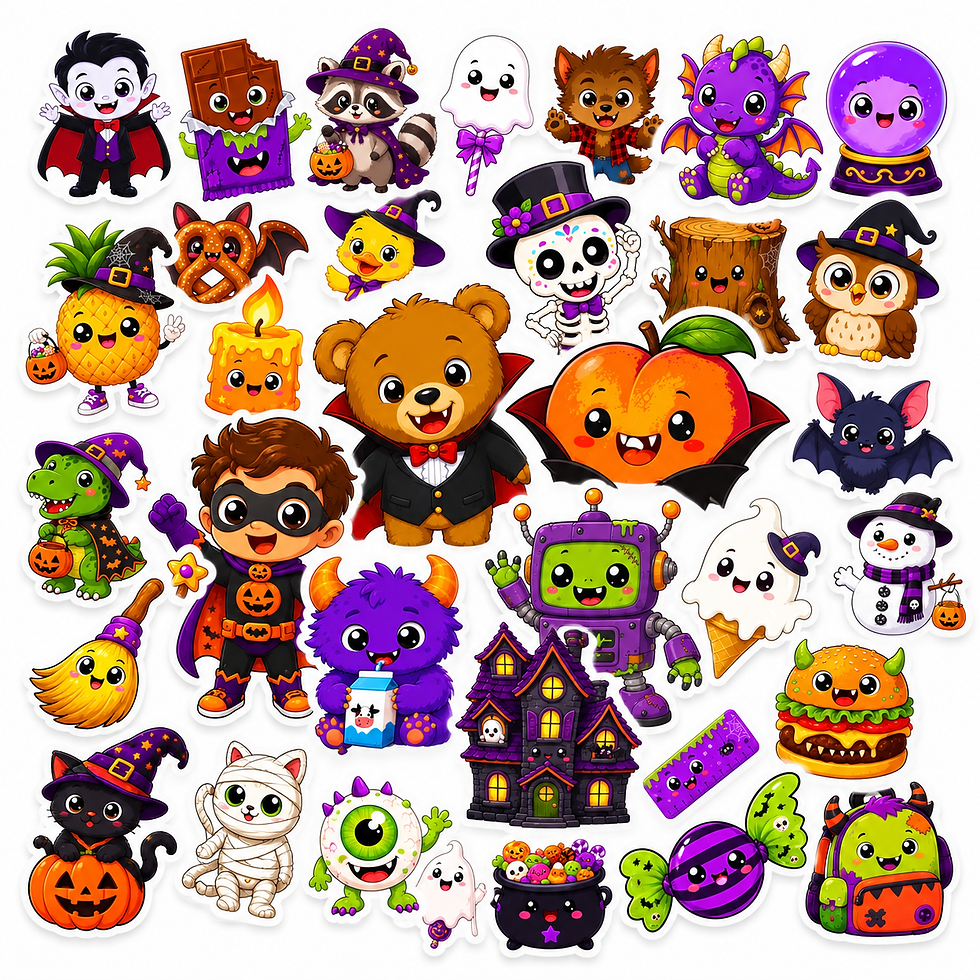
2. Tuck in a Halloween sticker
Stickers are such an easy win. Kids can use them on notebooks, lunch boxes, or wherever they want a little Halloween spirit. This big multipack makes it simple to add one to each bag, with extras left for crafts or another celebration.

3. Add one playful light-up ring
These colorful Halloween rings bring an instant little “wow” moment when kids open their bags. One ring per child is plenty, and the multipack leaves you with extras for a classroom celebration, a party, or those last-minute trick-or-treaters.

4. Include a mini flashlight for a useful surprise
A mini flashlight is a fun twist on the usual candy-filled treat bag, and it can come in handy while children are out trick-or-treating. I love adding one non-candy item that kids can keep using after Halloween night!

5. Finish with a little cookie treat
Individually wrapped cookies make these bags extra easy to portion. Add one pack to each bag and keep the remaining cookies sealed until you need them. Be sure to check the package ingredients and allergy information before handing them out.
Keep the cost per bag in check
You do not have to put every item in every bag. For a sweet-and-simple version, add one cookie pack and one sticker. Want a few more surprises? Add a ring or mini flashlight. Shopping multipacks and choosing just a couple of items per child is the easiest way to keep the total in your comfort zone.
Before you order, count how many bags you need and set aside one of each item per child. Then divide the total supply cost by the number of finished bags to see your cost per child. Prices and package quantities can change, so check the current listings before ordering.
Assemble them in minutes
1. Line up the bags and decide which items will go in each one.
2. Put the cookie pack at the bottom, then add the sticker and one small surprise.
3. Gather the top and twist it closed with the included tie.
4. Store the finished bags somewhere cool and dry until Halloween.
That is it: a whole lineup of cheerful little treat bags, ready for the big night! For younger children, check age guidance and small-parts warnings on the toy packaging. If you are making bags for a group, keep an ingredient list nearby and consider offering a non-food version for anyone with food allergies.
A little planning really does go a long way. With cute packaging, a few colorful surprises, and a sweet treat, you can make Halloween goodie bags that feel thoughtful, look adorable, and stay on budget. I cannot think of a more fun way to get ready for trick-or-treat night!


Comments